Materials Needed:
- Window tint film with factory edges - Geoshield is a great supplier for those with a dealer account.
- Razor blade (with fresh blades)
- Tape measure
- White Scrub pad
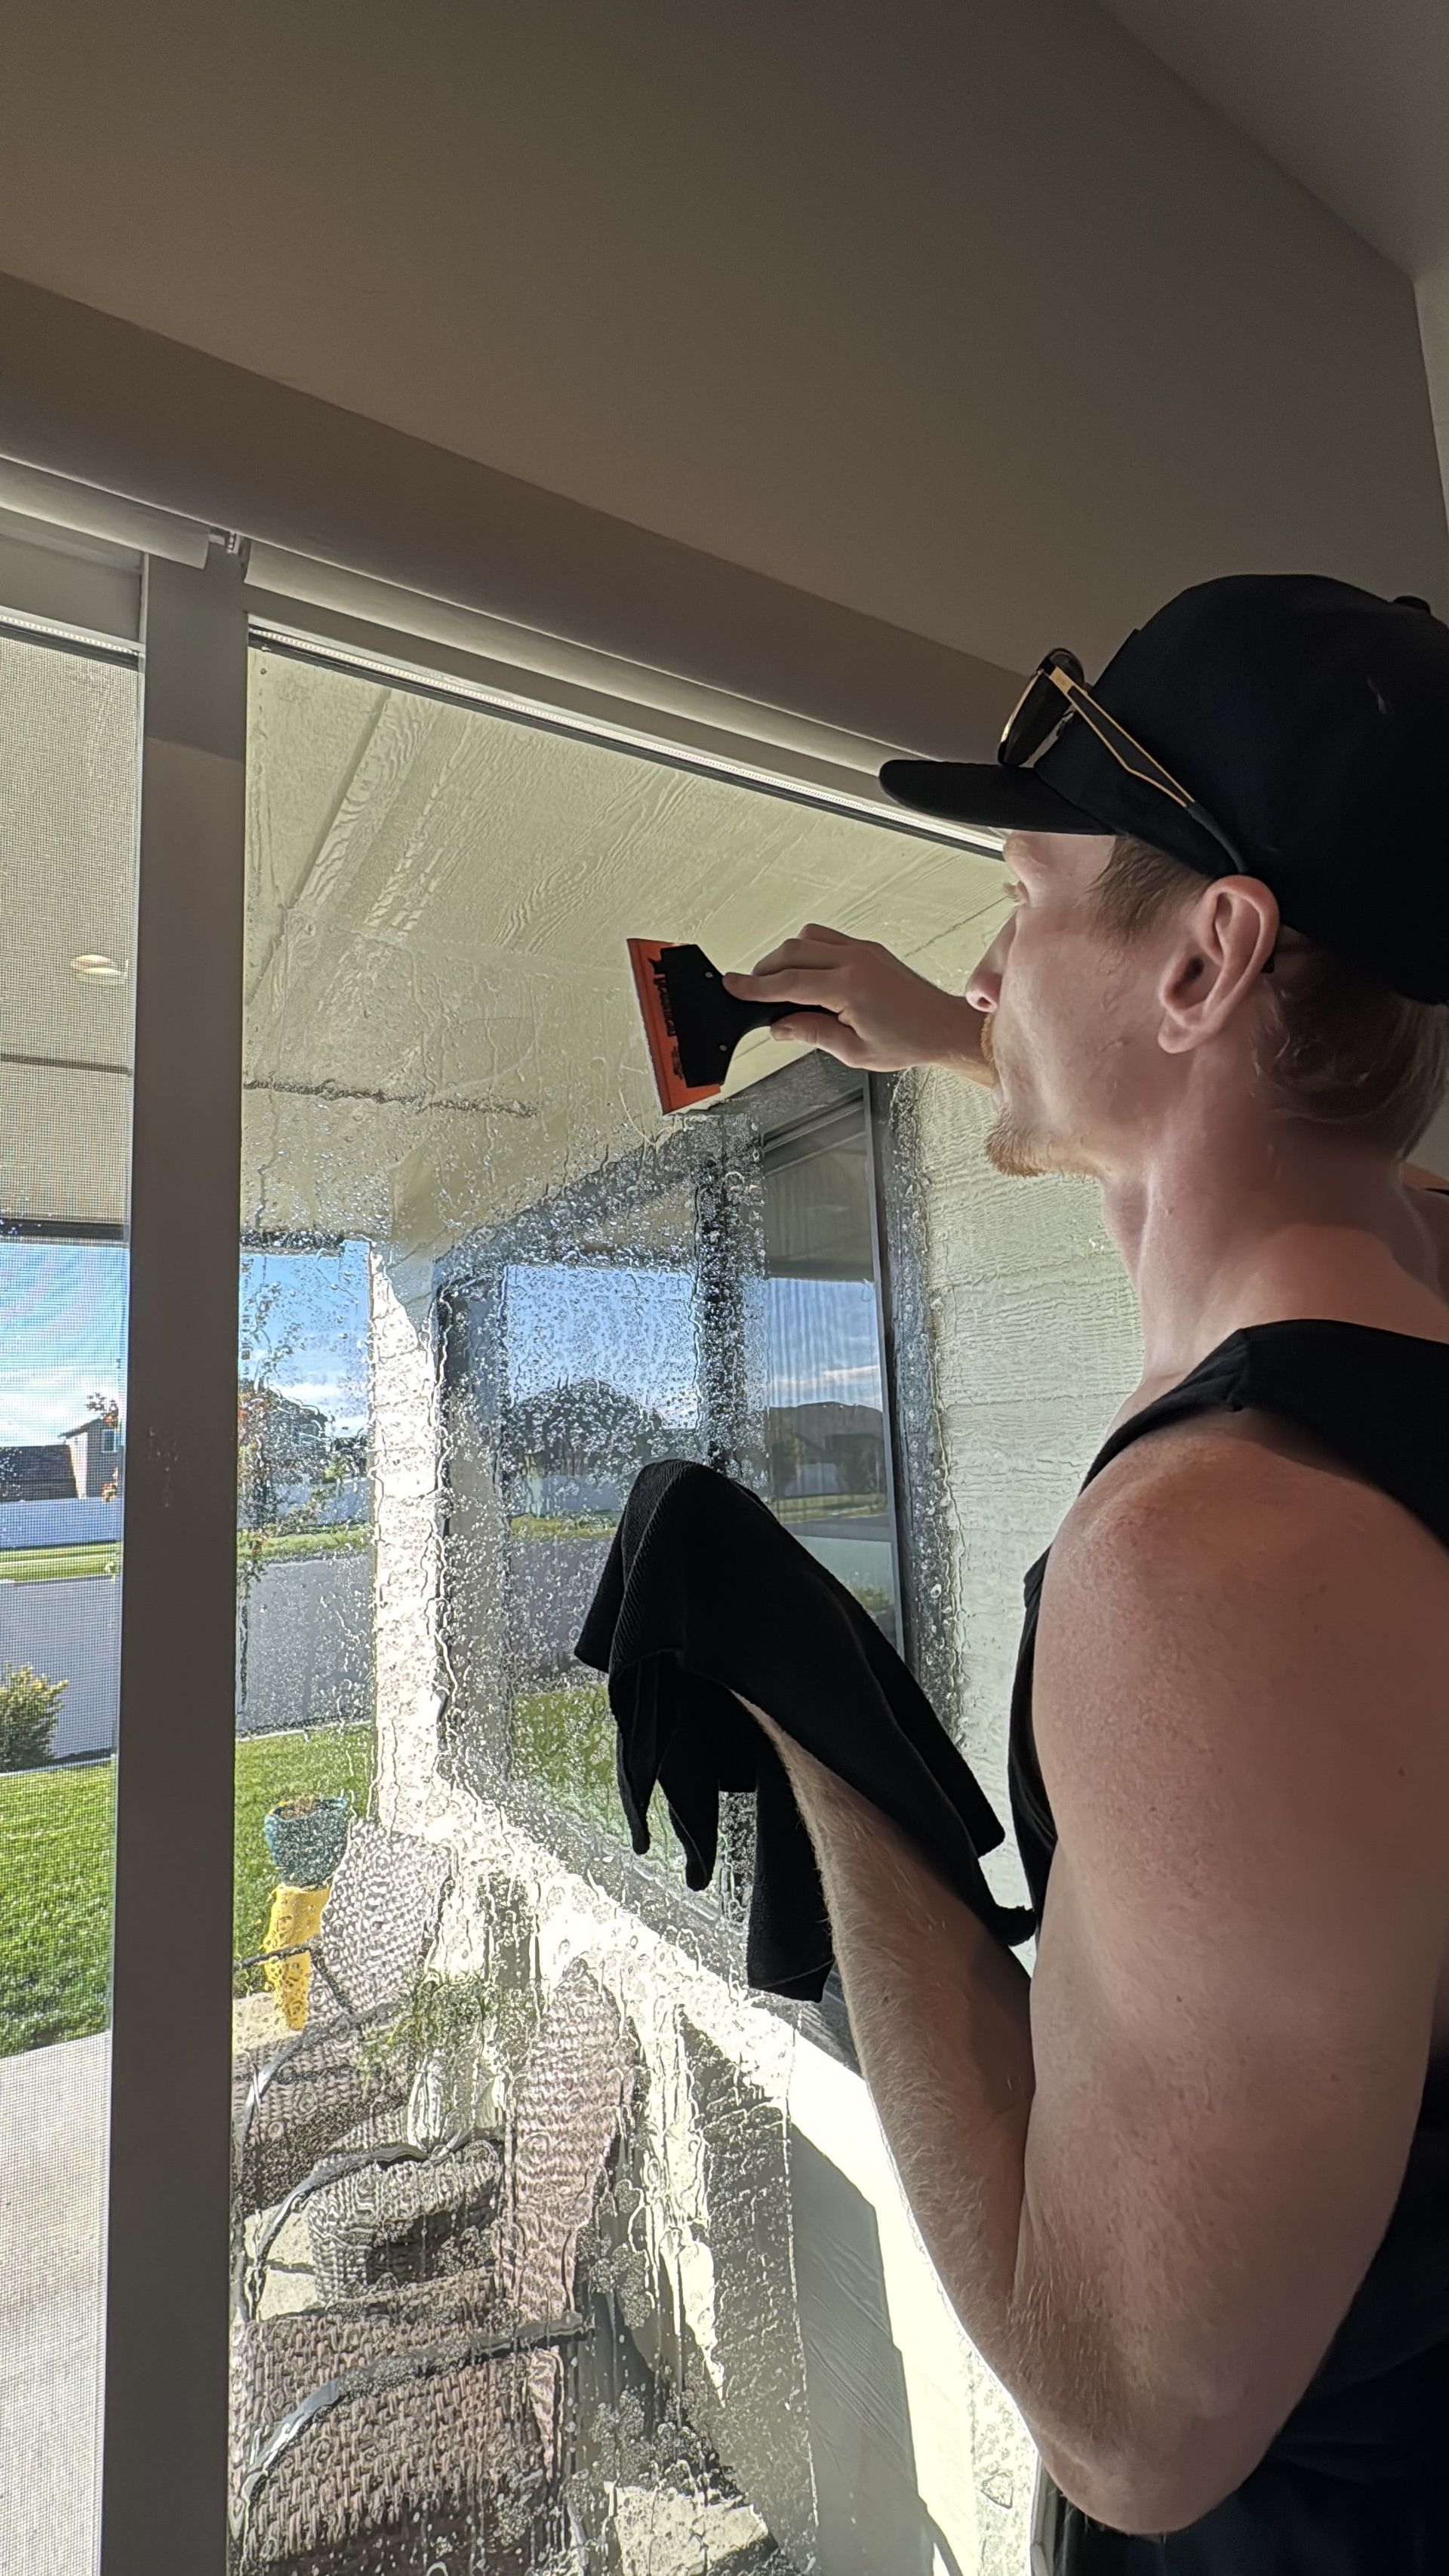
- Squeegee
- Spray bottle filled with application solution (soapy water)
- Square or tri-edge tool
- Hard card (like a tri-edge)
- Blue paper towels
- Microfiber cloths or towels
- Blower (optional, for drying edges)